Zabbix on a raspberry pi
- Fact : The more services I add to catter our needs, the more time it takes if I have to loggin to of them.
- Problem : I have a lot of services going at the same time and I would like to have a system that will show me the statuses of them.
- Hypothese : I read that Zabbix is a good open source monitoring software tool for a wide range of things, such as networks, servers, and virtual machines. I'll give it a go at it.
NGINX with PHP
- So I have a couple of raspberry pi 3+ that are laying around and I thought that I'll use one to monitor all the services that I manage.
- On a new clean installed OS, (64 bit, Bookworm) I'll need to install a webserver first, let's go with NGINX :
sudo apt install nginx - Need to install php with that too :
sudo apt install php8.2-fpm php8.2-mbstring php8.2-mysql php8.2-curl php8.2-gd php8.2-curl php8.2-zip php8.2-xml -y - Need to make some modifications to get .php to be the default :
    sudo nano /etc/nginx/sites-enabled/default
    # Need to replace
    index index.html index.htm;
    # By
index index.php index.html index.htm; - That tell NGINX to use .php first.
- Next change :
            #location ~ \.php$ {
    #       include snippets/fastcgi-php.conf;
    #
    #       # With php5-cgi alone:
    #       fastcgi_pass 127.0.0.1:9000;
    #       # With php5-fpm:
    #       fastcgi_pass unix:/var/run/php5-fpm.sock;
#} - By this :
            location ~ \.php$ {
    include snippets/fastcgi-php.conf;
    fastcgi_pass unix:/run/php/php8.2-fpm.sock;
    fastcgi_param SCRIPT_FILENAME $document_root$fastcgi_script_nam>
    include fastcgi_params;
} - Let's reload NGINX
sudo systemctl reload nginx - Need to test the setup to make sure that PHP is working. Let's make a
index.phpfile :sudo nano /var/www/html/index.php
# And put this :
<?php phpinfo(); ?> - Voilà! NGINX with php done
- On a new clean installed OS, (64 bit, Bookworm) I'll need to install a webserver first, let's go with NGINX :
MYSQL for the database
- Now we need a database to store the information. MYSQL is up for the task :
    sudo apt install mariadb-server
    # secure it by putting a password to the root user
sudo mysql_secure_installation - I made sure that the root password was entered and I answered Yes to all the prompts
- Next, need to create a database and a user :
    sudo mysql -u root -p
    CREATE DATABASE zabbix CHARACTER SET utf8 collate utf8_bin;;
CREATE USER 'zabbix'@'localhost' IDENTIFIED BY '******'; - User is Zabbixuser and the password is ****** (Change it to what you need or want). We need to give that user all privileges to the database :
GRANT ALL PRIVILEGES ON zabbix.* TO 'zabbix'@'localhost'; - Then, for it to work, we need to flush the privilege table :
FLUSH PRIVILEGES; - Last but really important ; we need to install the php mysql connector:
sudo apt install php-mysql
Zabbix install
- Let's go get the repository from Zabbix :
    wget https://repo.zabbix.com/zabbix/7.0/raspbian/pool/main/z/zabbix-release/zabbix-release_7.0-2+debian$(cut -d"." -f1 /etc/debian_version)_all.deb
    # This command to install it :
    sudo dpkg -i zabbix-release_7.0-2+debian$(cut -d"." -f1 /etc/debian_version)_all.deb
    # Then update to see the new Zabbix packages :
    sudo apt update
    # Finally, let's install the Zabbix server, its frontend interface, and its agent software :
    sudo apt install zabbix-server-mysql zabbix-frontend-php zabbix-nginx-conf zabbix-sql-scripts zabbix-agent
    # Since the database is already created, let's import the tables and initial Zabbix data :
zcat /usr/share/zabbix-sql-scripts/mysql/server.sql.gz | mysql --default-character-set=utf8mb4 -uzabbix -p zabbix - Now we need to change the config file for the Zabbix server to set the password for the database :
    sudo nano /etc/zabbix/zabbix_server.conf
    # Find DBPassword= and change it for the zabbix user password and save the file
    DBPassword=Zabbixpassword
NGINX reconfiguring
- Need to modify the default NGINX config file to point to the Zabbix one :
    sudo nano /etc/nginx/nginx.conf
    # Find this line  include /etc/nginx/sites-enabled/*; (can use ctrl w to search) and add bellow it this :
include /etc/zabbix/nginx.conf; - Lastly, need to change the Zabbix config file :
    sudo nano /etc/zabbix/nginx.conf
    # And remove the comment for the line :
                listen          80;
    # Once saved, remove the default NGINX configuration file :
    sudo rm /etc/nginx/sites-enabled/default
    # And restart the services
    sudo systemctl restart zabbix-server zabbix-agent nginx php7.3-fpm
Zabbix Web Interface
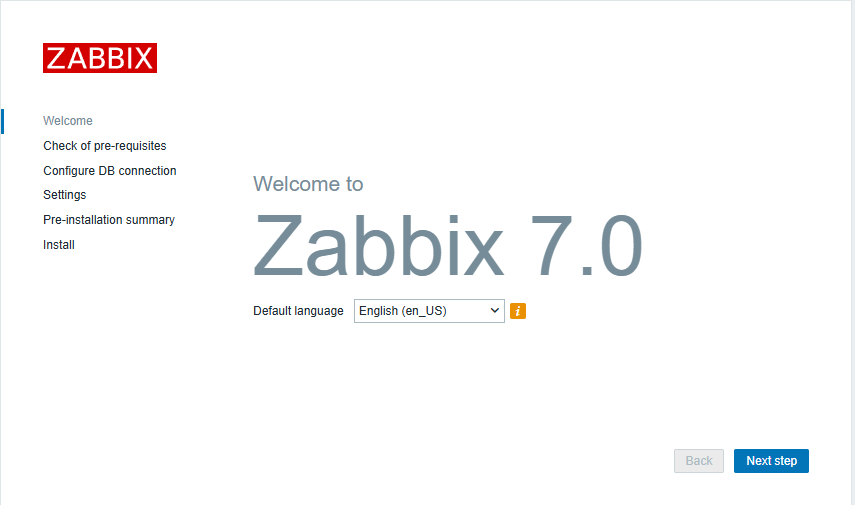
- To finish the basics, let's head to
http://[IPADDRESS]- And there it is:
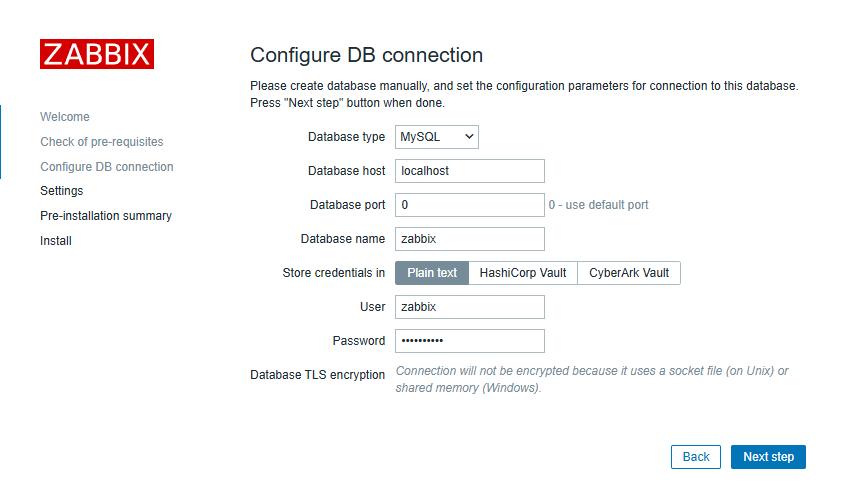
- Click next step and then put in the password of the zabbix user Database :
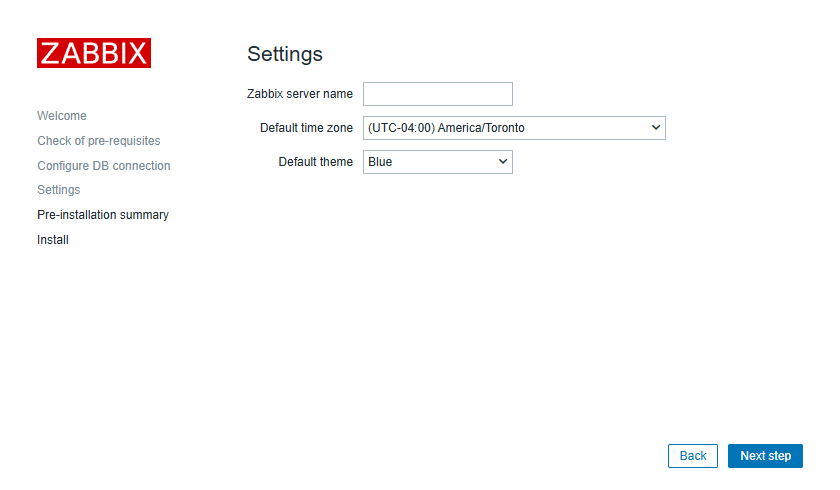
- Change the time zone :
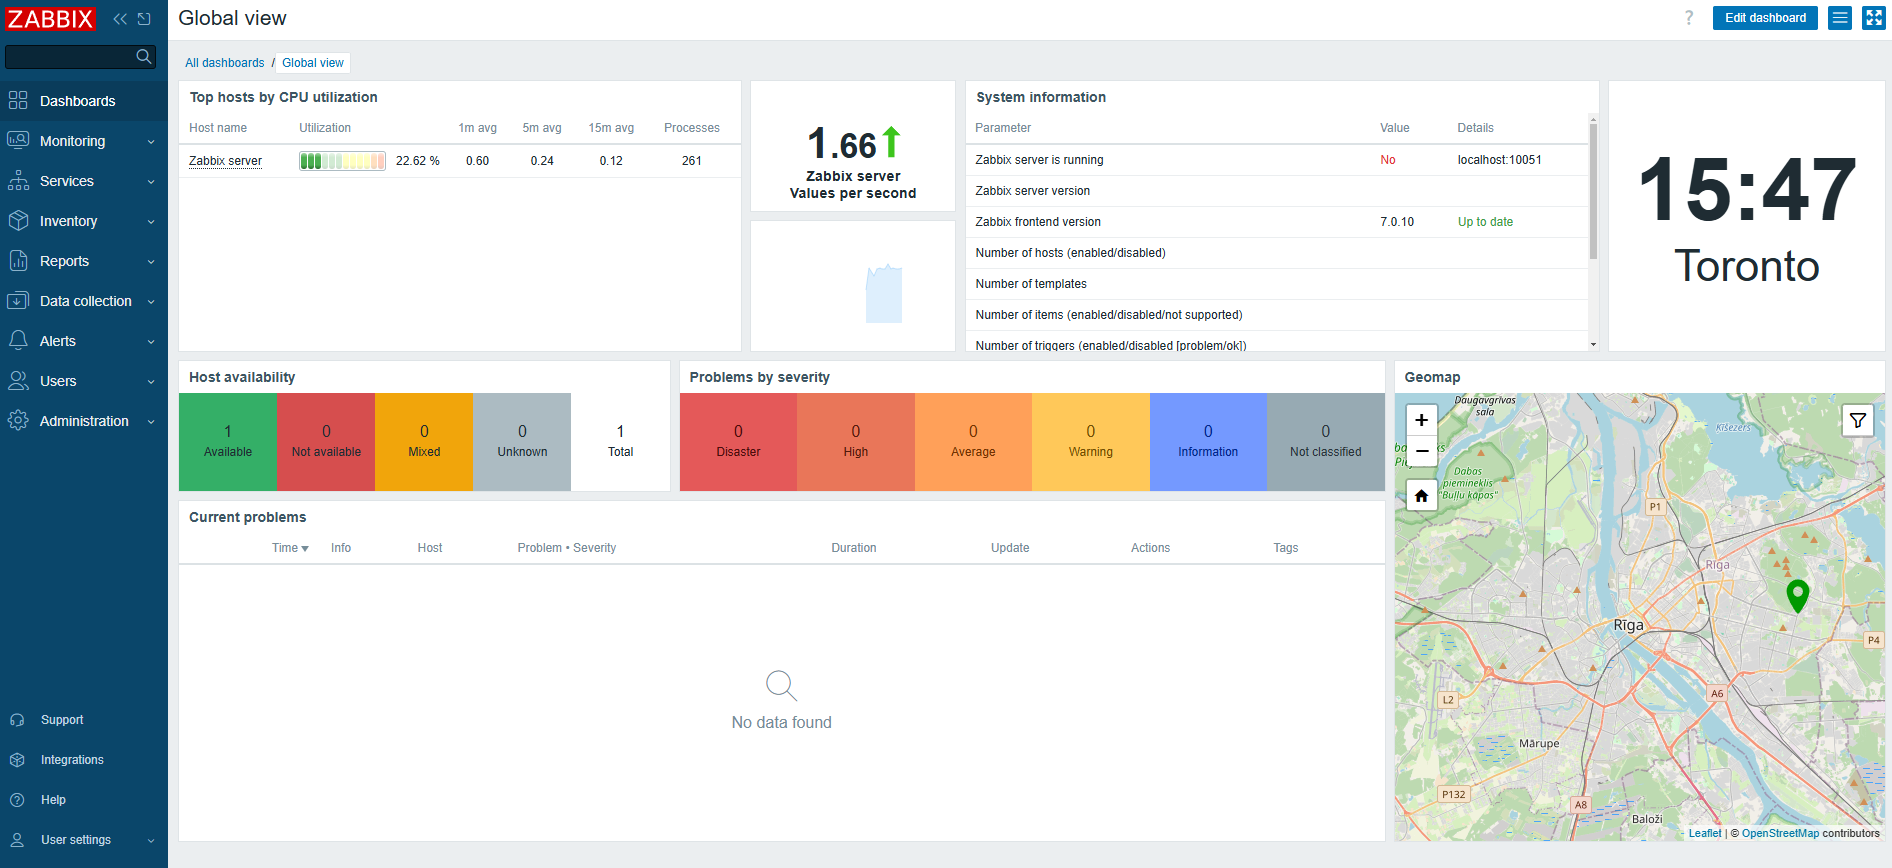
- Then next and next. When you get to the login, the default user is Admin and the password is zabbix. Then you are in :
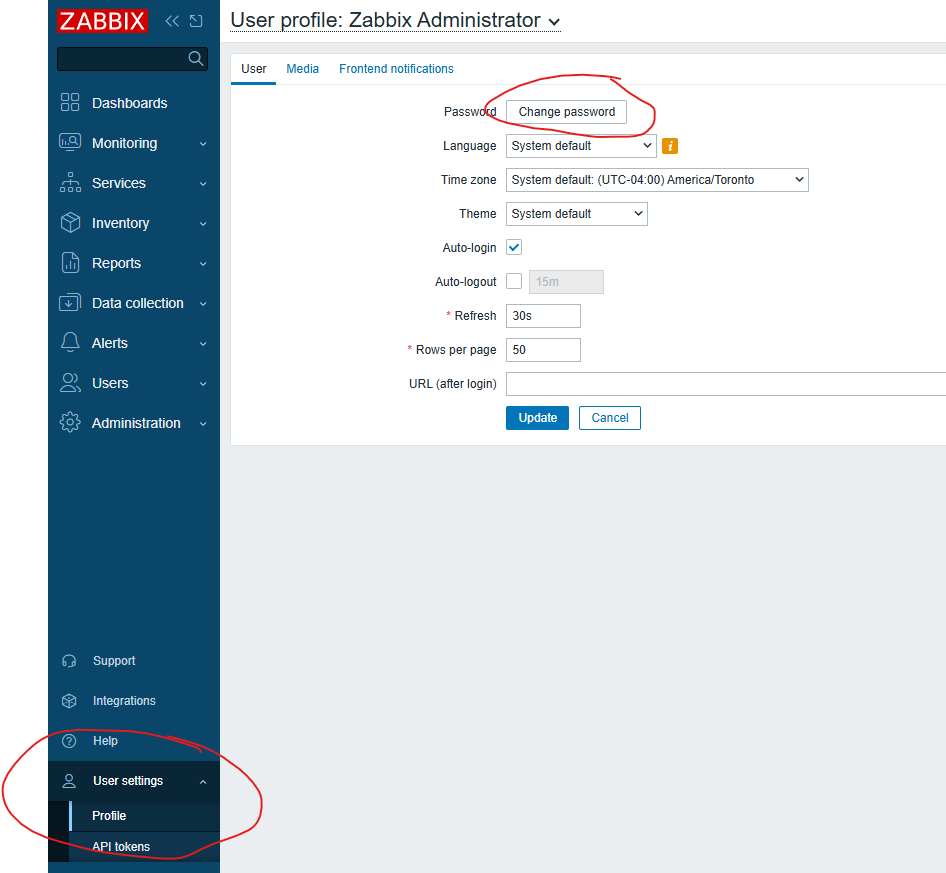
- Next, change the admin password :
- And there it is: